The BBC created the Micro:Bit as part of Great Britain’s national computer science curriculum and gave it to every 7th grader in the country. The US created lots of high-stakes standardized tests to give to our 7th graders. Hmmmm.
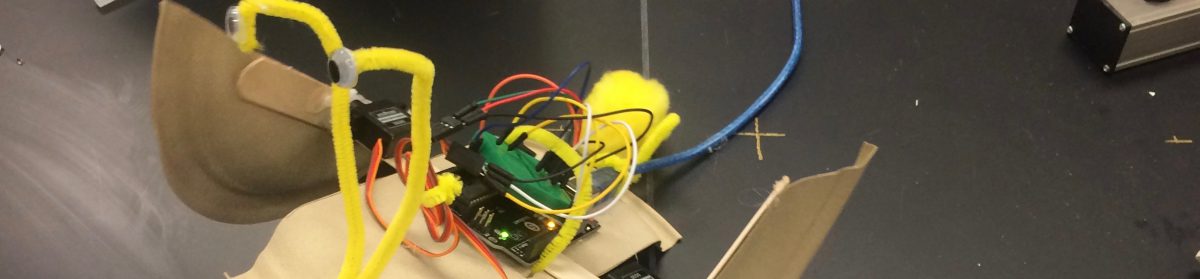
The MB is a pretty amazing little board. The 5X5 LED matrix is super-handy for single digit or icon output, and I find it useful for debugging as well. The 3 pins labeled and available for hooking an alligator clip to are deceptive – with a 90˚ connector from Sparkfun you can increase the number of inputs to 20 and create more complex projects. As I explain below, one of the board’s real strengths is its built-in wireless capabilities allowing students to set a first board up to run motors, lights, etc… and a second board to act as a remote control. The onboard Bluetooth, motion sensors, compass, and buttons are all easy to use and helpful in many types of projects.
Page Content:
- The Basics – Using MakeCode (Drag and Drop and Javascript)
- The Basics – Using MicroPython
- Kris’ Recipes
- Online Tutorials and Resources
The Basics – Using MakeCode (Drag and Drop and Javascript)
The easiest way to get started with the Micro:Bit is using the Microsoft:Makecode system to program it. I’ve listed some tutorials below, but if you have ever used Scratch or any other drag-and-drop programming system before it will be very comfortable. The basics are:
- Plug the Micro:Bit into your computer using the included microUSB cable. It should show up as a USB drive named MICROBIT. If it doesn’t, try clicking the reset button on the bottom of the board next to where the USB cable plugs in.
- Go to the Makecode page and try something. Maybe just grab a few simple blocks such as Basic:show string or Basic:show icon and see what they do. Dragging them into the “Forever” loop will activate them on the simulated board located on the left side of the window. Remember, if you are switching between two different things on the display, you will probably need to use a Basic:pause block to put a little display in so you can see what is going on.
- If the simulation on the board looks good, it is time to send your code to the actual board. When you plug a Micro:bit into your computer’s USB port, it shows up as a USB drive. You can now drag and drop files into it, just as you would any USB drive.
- From the MakeCode page, click the “Download” button at the bottom of the page. You will see a file download and a dialog box will pop up which you can click “Done” on.
- Go to your Downloads folder (Mac or PC) and find the file you just downloaded.
- Drag the file into the MICROBIT drive. It will take a few moments to transfer the program, and then the Micro:bit should start running it.
- Change your program, download it, and drag the new file over to update as much as you wish.
- Javascript – clicking the “Javascript” button lets you switch from blocks to script at any time.
- Check out the resources at the bottom of the page for more detailed and specific tutorials.

The Basics – MicroPython
Kris’ Recipes
