My students come to me with all sorts of brilliant ideas for things to create, and are very adept at designing parts for them to be 3D printed, laser cut, or fabricated in some other way. One thing that often gets in their way is measurement and placement of structures and holes in their parts to allow them to attach to other parts made by the student or from some other source (like microcontrollers, lights, LCD screens, etc…) This activity is designed as a fun and challenging way to give them practice in this skill set.
Setting Up
You can do this activity in any 3D design tool that allows you to accurately control creation and placement of objects to 1mm, although .1mm would be better. I have had students successfully complete it using Tinkercad and Fusion360. In addition, make sure your students have experience using calipers to accurately measure real world objects. The power of this activity is that students measure things in the real world (don’t give them the files you use to create them!) and have to design around them. You don’t need expensive digitals calipers, or even metal ones. This set of 2 plastic calipers or this set of 4 plastic calipers will both work. You are better buying enough inexpensive calipers for your entire class than a few expensive ones to be shared.
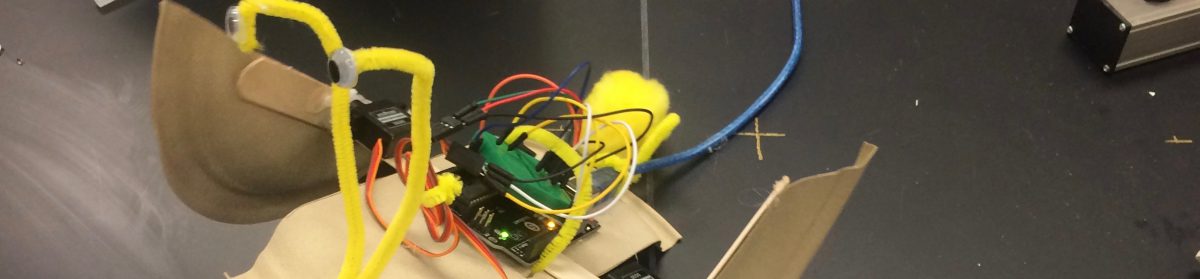
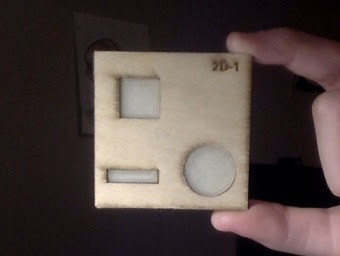
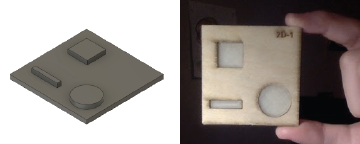
- You need a set of target pieces, the more the better. Kids will need to be hands on while measuring and designing these blocks. Make sure you have at least one for every two kids, but 1:1 is better. If you have access to a laser cutter, cutting them from 1/8 plywood has worked best for me, but 3d printing them will work as well. There are 5 different pieces. You can download the files from this Instructable.
- Adobe Illustrator File (for laser with four copies of each of the five files )
- .svg File (for laser)
- .stl files (one for each of the 5 different pieces)
- Calipers as described above 1:2 or 1:1 if possible.
- Access to Tinkercad, Fusion360, or other 3d design software
- Graph paper and rulers – I have found that most kids (and adults) who don’t have much experience designing something like this will do better if they can start on paper before they get to the computer.
- 3D printers ready to go!
Activity Plan
- Hand out the target blocks and let students “play” with them a bit and become comfortable with their details.
- Hand out graph paper and ask students to sketch (to scale) and label dimensions of their part. Explain to them that:
- they will need to measure the shapes and reproduce them in their sketch
- they will also need to measure the positions of the shapes – based on a corner or a center point, depending on the shape
- Once they have accurately sketched their object, have them trade objects with a partner and have each student check the other’s work.
- Now you need to make a decision on how to go forward, largely based on how much time you have and how many 3d printers you have access to .
- The best option is send students to their CAD software and tell them only: “Create a part that you can 3D Print and will snap perfectly into the target part you were given.” This route will result in failures, some frustration, and a few iterations (ie. multiple prints per student). They will have to discover the best way to do this, and they will gain more from the process.
- If time and equipment won’t allow the first option, then you will need to give them a few hints. Tell them:
- The shapes will need to be as tall as the target blocks so that they fit in well.
- The shapes need to be a little bit smaller than the shapes in the target blocks – like .05mm or they won’t snap in well. This number might be different depending on your printer settings, so you might want to try this activity first to test out you printers.
- At this point the students need to design and print their piece. Support them, encourage them, and make it ok for them to struggle a bit! The first student to print one that snaps in will be excited and encourage the others. Don’t let them give up!
